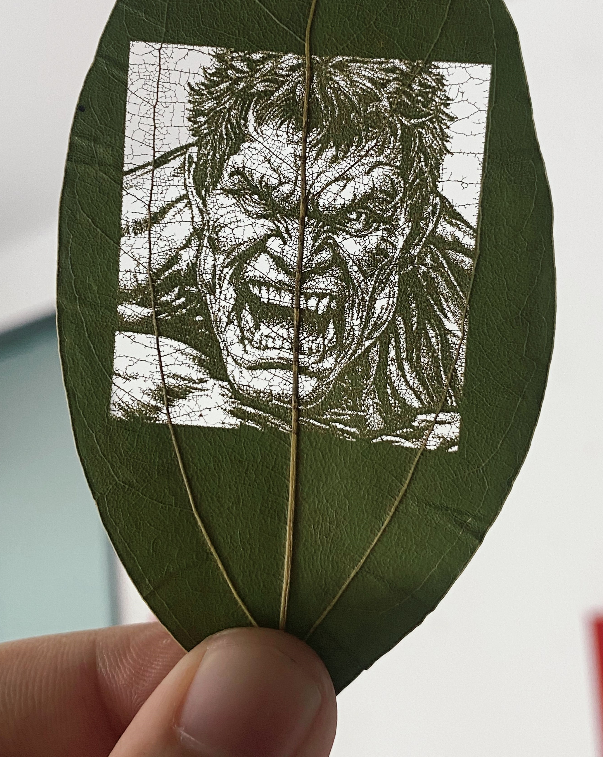
A Cautionary Tale: The Laser Engraving Mishap
Imagine this: You’ve just completed a complex design for a custom wooden sign, ready to be laser engraved. You carefully adjust your settings, excited to see the final product. But as the laser finishes its work, you realize something is terribly wrong. Instead of the clean, crisp engraving you expected, the design appears inverted—what should be raised is recessed, and what should be recessed is raised. The intricate details are lost in the confusion, and your once-promising project now feels like a disaster.
This story might sound all too familiar if you’ve worked with gravare cu laser, especially when dealing with complex depth designs. Mistakes like this are more common than you might think, și pot fi incredibil de frustranți, mai ales când sunteți într-un termen limită sau folosiți materiale scumpe.
De ce inversarea proiectării adâncimii este o provocare comună
Inversarea unui design de adâncime nu înseamnă doar remedierea greșelilor; este vorba despre înțelegerea complexității gravării cu laser pentru a obține efectul precis pe care îl doriți. Fie că ești un pasionat care creează cadouri personalizate sau un profesionist care creează gravuri detaliate, stăpânirea acestei tehnici este esențială.
În acest articol, vă vom ghida prin întregul proces, de la înțelegerea de ce se întâmplă aceste greșeli până la instrucțiuni pas cu pas despre cum să inversați un design de adâncime. Până la sfârșit, nu numai că veți ști cum să corectați aceste erori, ci și cum să le evitați în primul rând. This knowledge will empower you to take your laser engraving projects to the next level, ensuring that every design turns out exactly as you envisioned.
1. Understanding Depth Design in Laser Engraving
1.1 The Basics of Laser Engraving
Laser engraving is a precise process where a focused laser beam removes material from a surface to create designs, modele, or text. Depth in laser engraving is controlled by adjusting three key factors: puterea laserului, viteză, and focus.
- Putere laser: Higher power burns deeper into the material.
- Viteză: Slower speed allows the laser to engrave deeper.
- Focus: The laser’s focal point determines the sharpness and depth.
Depth Design involves planning the different levels of engraving, which can range from shallow etchings to deep carvings. This design dictates how the final engraved product will look, whether it’s a simple monogram or a complex 3D image.
1.2 Common Mistakes with Depth Design
Mistakes in depth design are frequent, especially among beginners. One common error is unintentional depth reversal, where the engraved areas are inverted. De exemplu, elements meant to be recessed may appear raised, disrupting the design’s visual flow.
This reversal can lead to:
- Loss of Detail: Fine details might be lost or obscured.
- Inconsistent Textures: Unwanted variations in depth create uneven surfaces.
- Miscommunication of Intent: The final product may convey a completely different message or visual appeal.
Understanding these pitfalls is crucial for anyone looking to master laser engraving, as avoiding them ensures the final product matches your vision.
2. Why Would You Need to Reverse a Depth Design?
2.1 Artistic and Practical Applications
Reversing a depth design can be a powerful tool in both artistic and practical applications. De exemplu, creating embossing effects on materials like leather or paper requires a reversed depth design, where the background is engraved, leaving the design raised. This technique is also used in making stamps where the design needs to be raised above the background to create an impression.
In practical applications, reversing the depth design is essential for producing molds or textured surfaces. By engraving the negative space, molds can be created for casting or pressing materials, allowing for precise replication of designs. This method is commonly used in industries like jewelry making, where intricate designs need to be repeatedly reproduced.
2.2 Mistakes and Fixes
Greșelile de proiectare în profunzime apar adesea din cauza neglijării sau a judecății greșite în configurarea inițială. De exemplu, un design destinat să aibă text în relief ar putea fi gravat în mod eronat ca încastrat, modificând complet aspectul dorit. În astfel de cazuri, inversarea adâncimii poate salva proiectul prin răsturnarea designului în software și regravarea materialului.
Exemple din lumea reală dintre inversările de succes includ proiectele în care proiectarea inițială nu a ieșit conform așteptărilor, cum ar fi un logo care și-a pierdut claritatea din cauza setărilor incorecte de adâncime. Prin inversarea adâncimii, desenul a fost regravat, restabilind claritatea și făcând proiectul un succes. Această tehnică a salvat nenumărate proiecte de la casare, demonstrându-și valoarea atât în eforturile creative, cât și comerciale de gravare cu laser.
3. Ghid pas cu pas pentru inversarea unui proiect de adâncime
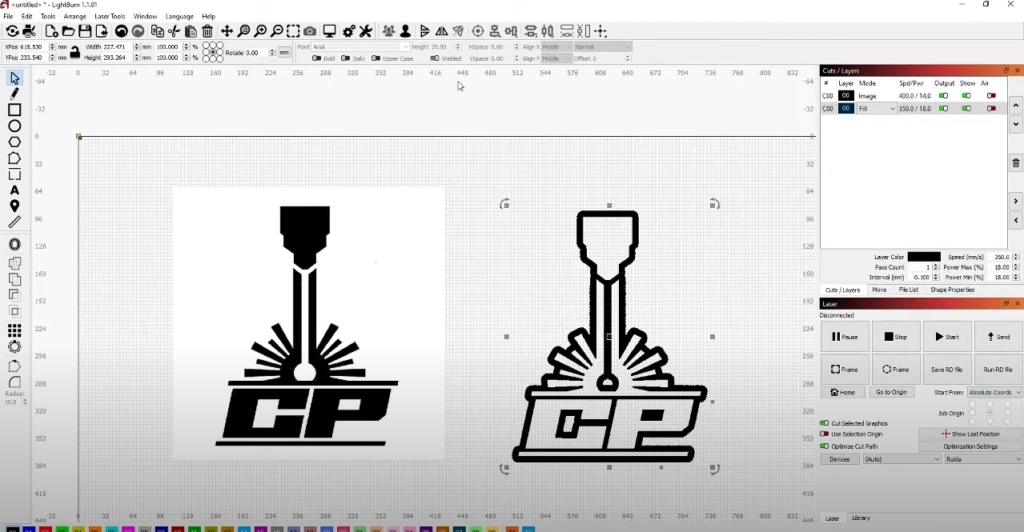
3.1 Utilizarea software-ului de proiectare
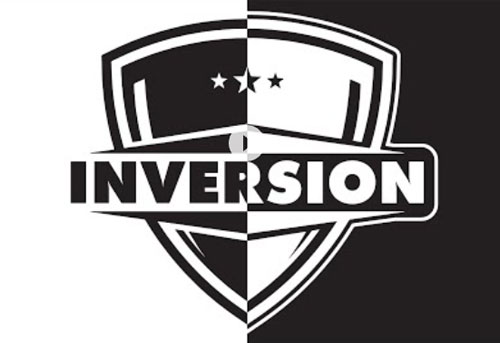
Pentru a inversa un design de adâncime, începe cu populare software de gravare cu laser ca LightBurn sau EzCad. Fiecare program oferă instrumente pentru inversarea culorilor, esențial pentru inversarea adâncimii. De exemplu, în EzCad, selectați designul, naviga la “Edita” > “Editați culorile” > “Inversa culorile.” Această ajustare inversează adâncimea, făcând zone care erau îngropate acum ridicate.
3.2 Tehnici manuale
Pentru o abordare practică, regla manual valori în tonuri de gri sau straturi în software-ul dvs. de proiectare. Prin modificarea acestor nuanțe, controlezi adâncimea gravurii. Nuanțele mai închise au ca rezultat gravarea mai profundă, deci prin inversarea acestor nuanțe, inversați în mod eficient adâncimea designului.
3.3 Ajustări setări laser
După inversarea designului în software, reglați-vă gravator cu laser setări. Regla putere (putere mai mare pentru gravare mai profundă), viteză (viteză mai mică pentru gravare mai profundă), și se concentreze pentru rezultate optime. Testează mereu scrap material first to ensure the settings produce the desired reversed depth effect before proceeding to the final engraving.
4. Advanced Techniques and Considerations
4.1 Layering Techniques
Creating Depth with Layers:
One of the most powerful techniques in laser engraving is the use of multiple layers within your design software. By assigning different depths to various layers, you can create complex designs that are easy to manipulate, even if you need to reverse the depth.
Step-by-Step Layering Process:
- Create Separate Layers: Start by creating different layers for each section of your design. Each layer can represent a different depth level.
- Assign Depths: Using the software’s tools, assign specific grayscale values to each layer. Darker layers will be engraved more deeply.
- Reverse with Ease: If you need to reverse the design, simply invert the grayscale values for each layer. This allows for seamless adjustment without redoing the entire design.
Case Studies:
Consider a project involving a three-dimensional map engraving. By layering the contours of the map, each representing a different altitude, you can reverse the depths to create an embossed effect rather than a recessed one. This approach is not only effective but also enhances the overall visual impact of the design.
4.2 Combining Depth Reversal with Other Effects
Dithering and Gradient Fills:
Depth reversal can be combined with effects like dithering sau gradient fills to create visually stunning designs. Dithering, de exemplu, can add texture, making the reversed depth appear more natural and detailed.
Creating Textures:
Gradient fills can help in achieving a smooth transition between different depths, which is especially useful when reversing designs like topographical maps sau artistic engravings. By carefully manipulating these effects, you can add an additional layer of complexity and interest to your project.
Practical Examples:
Imagine creating a laser-engraved portrait. By combining depth reversal with gradient fills, you can produce a piece where the subject appears to emerge from the background. This not only adds depth but also makes the engraving more lifelike.
4.3 Troubleshooting Common Issues
Uneven Engraving:
A common issue when reversing depth designs is uneven engraving. This can result from inconsistent laser power or speed. To combat this:
- Check your laser settings: Ensure that the power and speed are uniform across the entire design.
- Use consistent materials: Variations in material thickness or composition can lead to uneven engraving.
Loss of Detail:
Detail loss is another problem that can arise, particularly in intricate designs. To mitigate this:
- Increase the resolution: Higher resolution settings in your software can preserve fine details.
- Optimize your design: Simplify overly complex areas or reduce the depth in these regions.
Material Burnout:
Material burnout occurs when the laser is too powerful for the material, leading to unwanted charring or burning. To avoid this:
- Adjust laser power: Lower the laser’s power settings when working with sensitive materials.
- Test on scraps: Always test the settings on a scrap piece of material before engraving the final product.
Real-World Troubleshooting:
De exemplu, a project involving a delicate paper engraving might initially suffer from material burnout. By adjusting the laser power and running tests, you can achieve the desired depth without damaging the material.
5. Case Studies and Examples
Case Studies of Depth Reversal:
- Custom Stamp Creation:
A detailed walk-through of creating custom stamps using depth reversal. Discuss how the technique allows for sharp, raised lettering that’s perfect for inking.- Step-by-Step Process:
- Depth reversal and adjustment in EzCad.
- Testing and final engraving on rubber material.
- Visual Aids:
Include before-and-after images showcasing the difference depth reversal made. - Decorative Wooden Panels:
Explore a project where depth reversal was used to create intricate designs on wooden panels for home décor.- Design Complexity:
Discuss how layering and depth reversal brought out the intricate details in the woodgrain, enhancing the final product. - Material Handling:
Offer insights on choosing the right type of wood and how depth settings affected the engraving quality.
- Design Complexity:
Learning from Mistakes:
- Real-Life Example:
A hobbyist’s attempt at engraving a multi-layered design on acrylic that initially failed due to improper depth setting.- Solution:
Reversing the design layers and adjusting laser settings salvaged the project, resulting in a stunning, clear engraving.
- Solution:
6. User FAQs
1. How can I avoid unintentional depth reversal in my designs?
- Answer: Start by double-checking your design in software like Lightburn or EzCad. Use the “Invert Colors” function to preview the design and ensure the depth is correct before engraving.
2. What materials are most challenging when reversing depth designs?
- Answer: Materials like acrylic and thin woods can be tricky due to their sensitivity to laser power and speed. It’s crucial to adjust settings precisely and test on scrap pieces.
3. Are there any tips for reversing depth in grayscale images?
- Answer: da, adjust the grayscale levels in your design software so that darker shades are less deep, effectively reversing the depth. Always test on similar material before finalizing.
4. What’s the best way to correct a design after engraving has already started?
- Answer: If you catch the error early, pause the engraving and modify the design in your software. If the engraving is complete, consider creating a new layer or design element to cover the mistake or rework the design with a focus on the reversed depth.
5. How can I ensure consistent depth across different materials?
- Answer: Consecvența vine din înțelegerea reacției fiecărui material la setările laserului. Mențineți un jurnal al setărilor utilizate pentru diferite materiale și ajustați în consecință în funcție de grosime, densitate, și răspunsul materialului la laser.
6. Pot inversa adâncimea într-o piesă deja gravată?
- Answer: Inversarea adâncimii într-o piesă deja gravată este dificilă, dar puteți încerca să adăugați un nou strat de design peste gravura existentă pentru a crea un nou efect. in orice caz, aceasta ar putea să nu corecteze complet eroarea inițială.


